Friday, October 9, 2015

Christmas Cards - Kaisercraft - Ready to Go

Hi everyone,
Just a little reminder that Christmas is only a few weeks away…..
 Are your ready????….. 
It was World Card Making Day on the 3rd October and I had a little bit of time to create some 
Christmas Cards for the year.


Using the Kaisercraft latest paper collection
"Holly Jolly"
and new Kaisercraft die cut Wreath DD535
and Collectables CT840

"Merry Christmas"


"Peace Love Hope"


I still have more to create…. but I am nearly done…  :)
Cheers Adriana XX


Have a great weekend everyone :)


Thursday, October 8, 2015

Butterflies & Fairies in the Garden - Kaisercraft

Hi there everyone 
Thanks so much for stopping by here, today.
I am very excited about this month's latest release products from Kaisercraft.

This months' paper collection has
3 great new release paper yummies.
Today I have created with 
"Ma Cherie" 
a very shabby and rustic collection of papers.
&
"Fairy Dust" 
these are great papers for any little fairy Birthdays celebration.

So let's start with a stroll in the Garden, with my first project, I created with the "Ma Cherie" Paper collection, I created a Butterfly Pop-Up box card.
This is my take on it, using the Stamp set and Die set from Kaisercraft to create the fluttering butterflies. Decorating the box also with Ma Cherie collectables.


 "BUTTERFLIES in my GARDEN" Pop up box card.


The box folds completely flat, ready to pop inside a large envelope and send to someone special.


Now, these Butterflies are so easy to create with the following Kaiser products and some watercolour pencils and brush.


Step-by-step To create your very own - Butterfly Pop-up Box card.

PLEASE GO TO THE KAISERCRAFT BLOG   
HERE
FOR THE FULL TUTORIAL  

Kaisercraft Materials required:
Kraft cardstock cut to A4 size of paper 21cm x 29.7cm
Ma Cherie Collectables CT841
Ma Cherie  P1958 Fancy paper
Ma Cherie - Clear stamp CS241
Kaisercraft Dekorative die DD544 Butterfly die
Ma Cherie PP982 Paper Pad
Vintage Ink pad IP723
Other materials:
Clear Acetate sheet
Foam Tape
Double sided tape
Score tool
Other: Watercolour pencils and brush.


Here is another card that I have created, 
an Easel card, with the same butterflies attached on some clear acetate pieces.

"Dreams come true" card 


They look like they are flying away in a flutter. :)


Fairy Dust 
is another great paper collection for any little Fairy who will be celebrating a special occasion. This paper collection, is just fabulous for creating Birthday invitations, Birthday cards and then once you have some photos of your special day, create a wonderful layout or mini album.
Take a stroll now in my Fairy little Garden…...


I created a card with a different twist,
it's more like a mini Card Booklet. I have been making these for many years. Firstly, they can be given as a card with a special pocket for a gift voucher, 
It makes a great little album for placing some photos on the back or inside, a little fairy booklet to treasure.


"Happy Birthday Little Fairy" Card Booklet.


Front Page
Using the Paper P1969 Fairy Wishes and P1968 Star Dust paper sheets,
you can cut the panels out and they fit perfectly in my little booklet.

Inside Page 2  & 3
I decorated this page with some Fairy Dust collectables and
Paper flowers and blooms.
 I created a little pocket and made some
tags with the of the papers and collectables from this collection.


Here is a closer look at the tags inside the pocket page 3 - You can write little messages of love or wishes on the back of these tags or adhere photos on them later.


Page 4 - Here I added the Fairy Dust Collectables butterflies to the page.
and words from the Fairy Dust sticker sheet.


Page 5 - Here I added the Kaiser Flat paper flowers, paper blooms and punched leaves. The last page, the back I left it plain, so there is an opportunity to add some photos on the back.


Products used for the Fairy Dust - Mini Card/Album


After your fairy party I am sure that you will have some very special photos for creating a layout. Using the paper P1965 Enchanted, I did some fussy cutting of the flowers from the created a unique stamping background, with the CS242 Clear stamp set from the Fairy Dust collection.

"Dream & Believe" layout.


After stamping some of the images on my very plain white background, I then coloured some of the flowers and butterflies with watercolour pencils, gently blending them in with some clean water and brush. I love to create unique backgrounds and using clear stamps and some inks is a great way to achieve this.
Then, I gently inked the edges and splattered some colour ink sprays.

I arranged all my cut out flowers around the base of my layout and 
added my matted photos and also some little fairies from the Collectables pack.

PLEASE GO TO THE KAISERCRAFT BLOG   
FOR THE FULL TUTORIAL  


Also Now there is a special competition to enter
to win some Kaiser Colouring Books

Go to the Kaiser blog  HERE


Good Luck

Happy Kaiser-Crafting everyone :) Cheers Adriana XX


Monday, October 5, 2015

Lace Pockets Die cuts - Couture Creations


Hi there everyone, Just a very quick post sharing more of my creations using the wonderful new collection of dies from new release Couture Creations. 

Lace Pockets Die Cuts

These are so easy to create, each die set in the collection come with little flowers or bows or pockets tags.


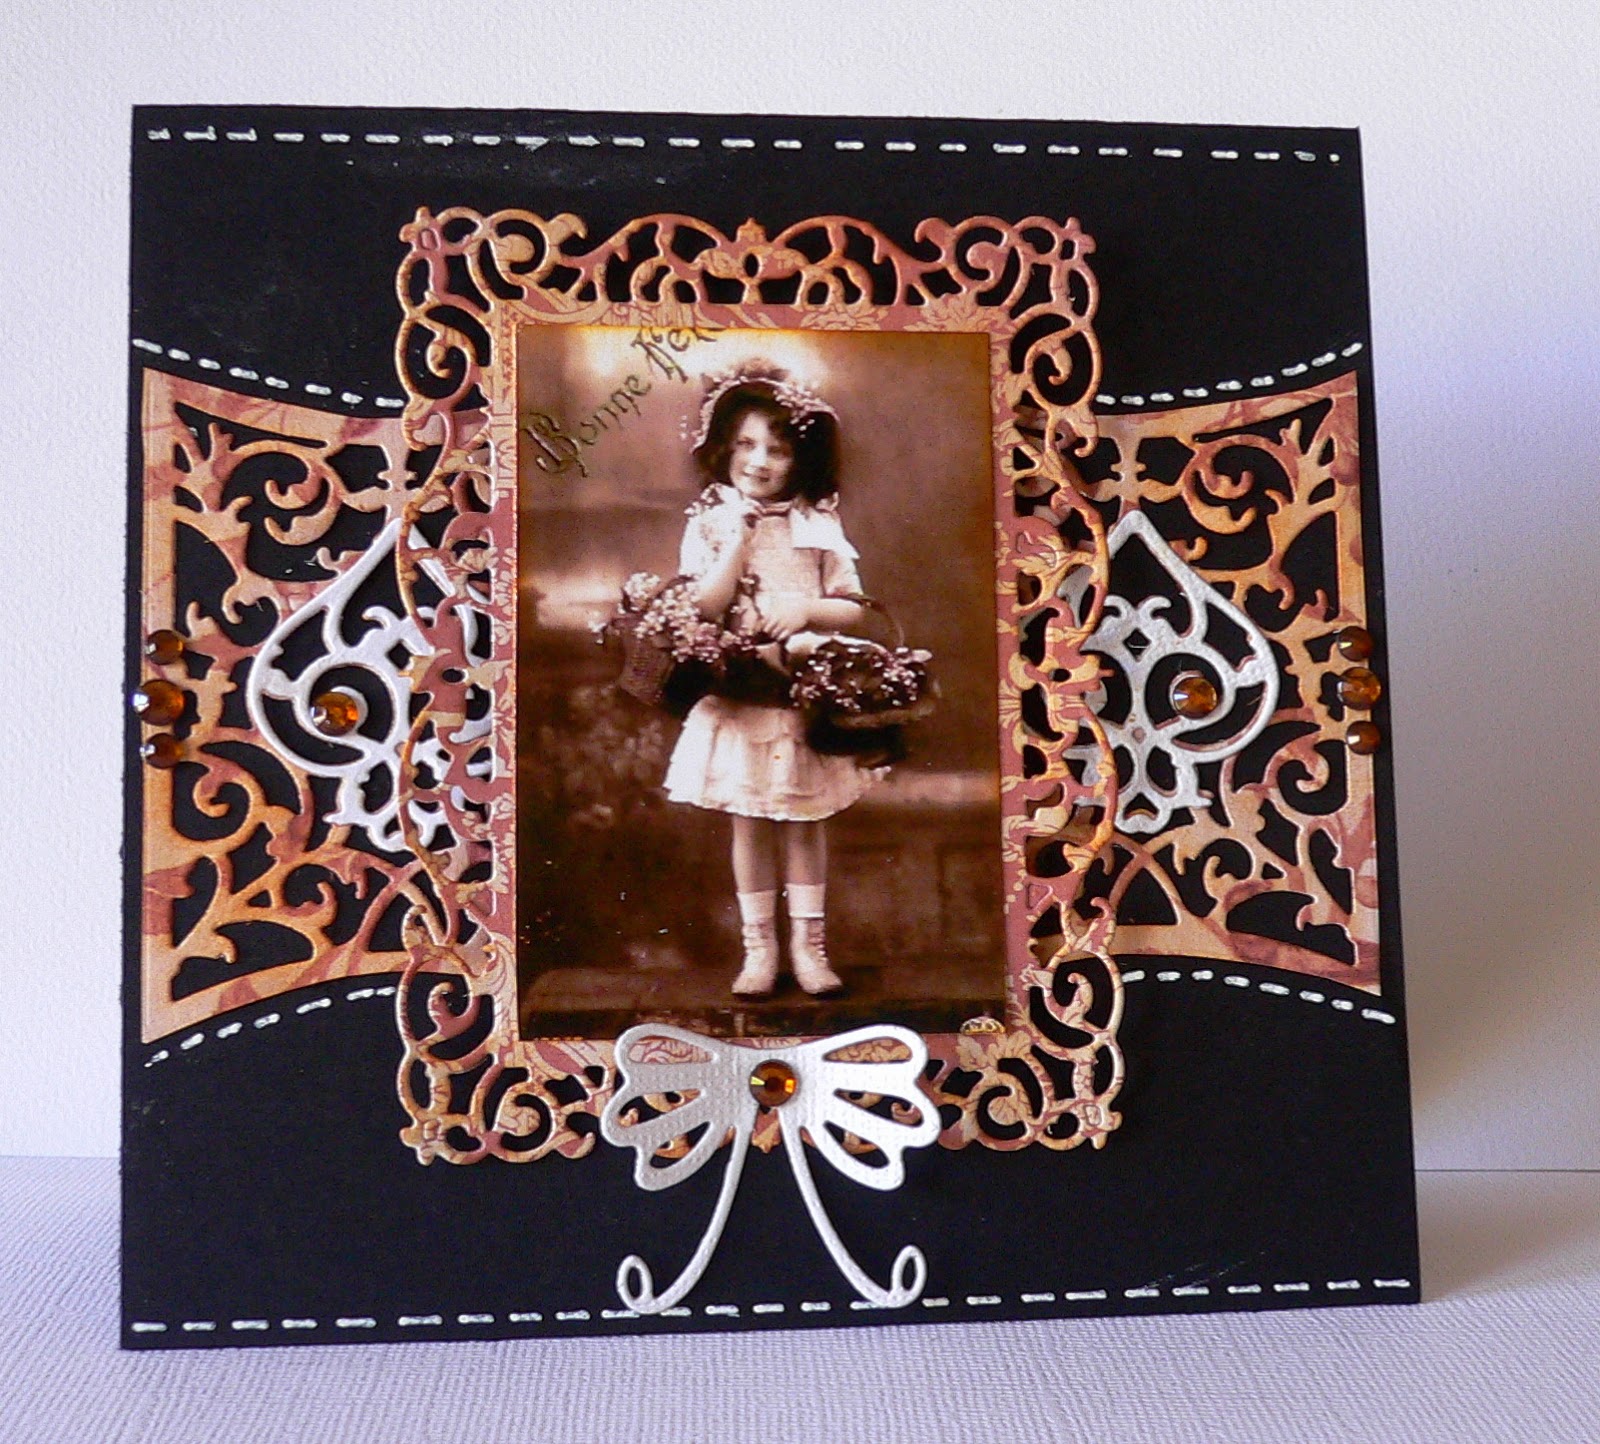
Here are my special vintage card using many pieces of the 
Lace Pockets Die Cuts below are the different dies that I used to create this card.


Using "The Blandford" frame 


Using "The Blandford" frame with centre piece
using the "Hanslope" die cut


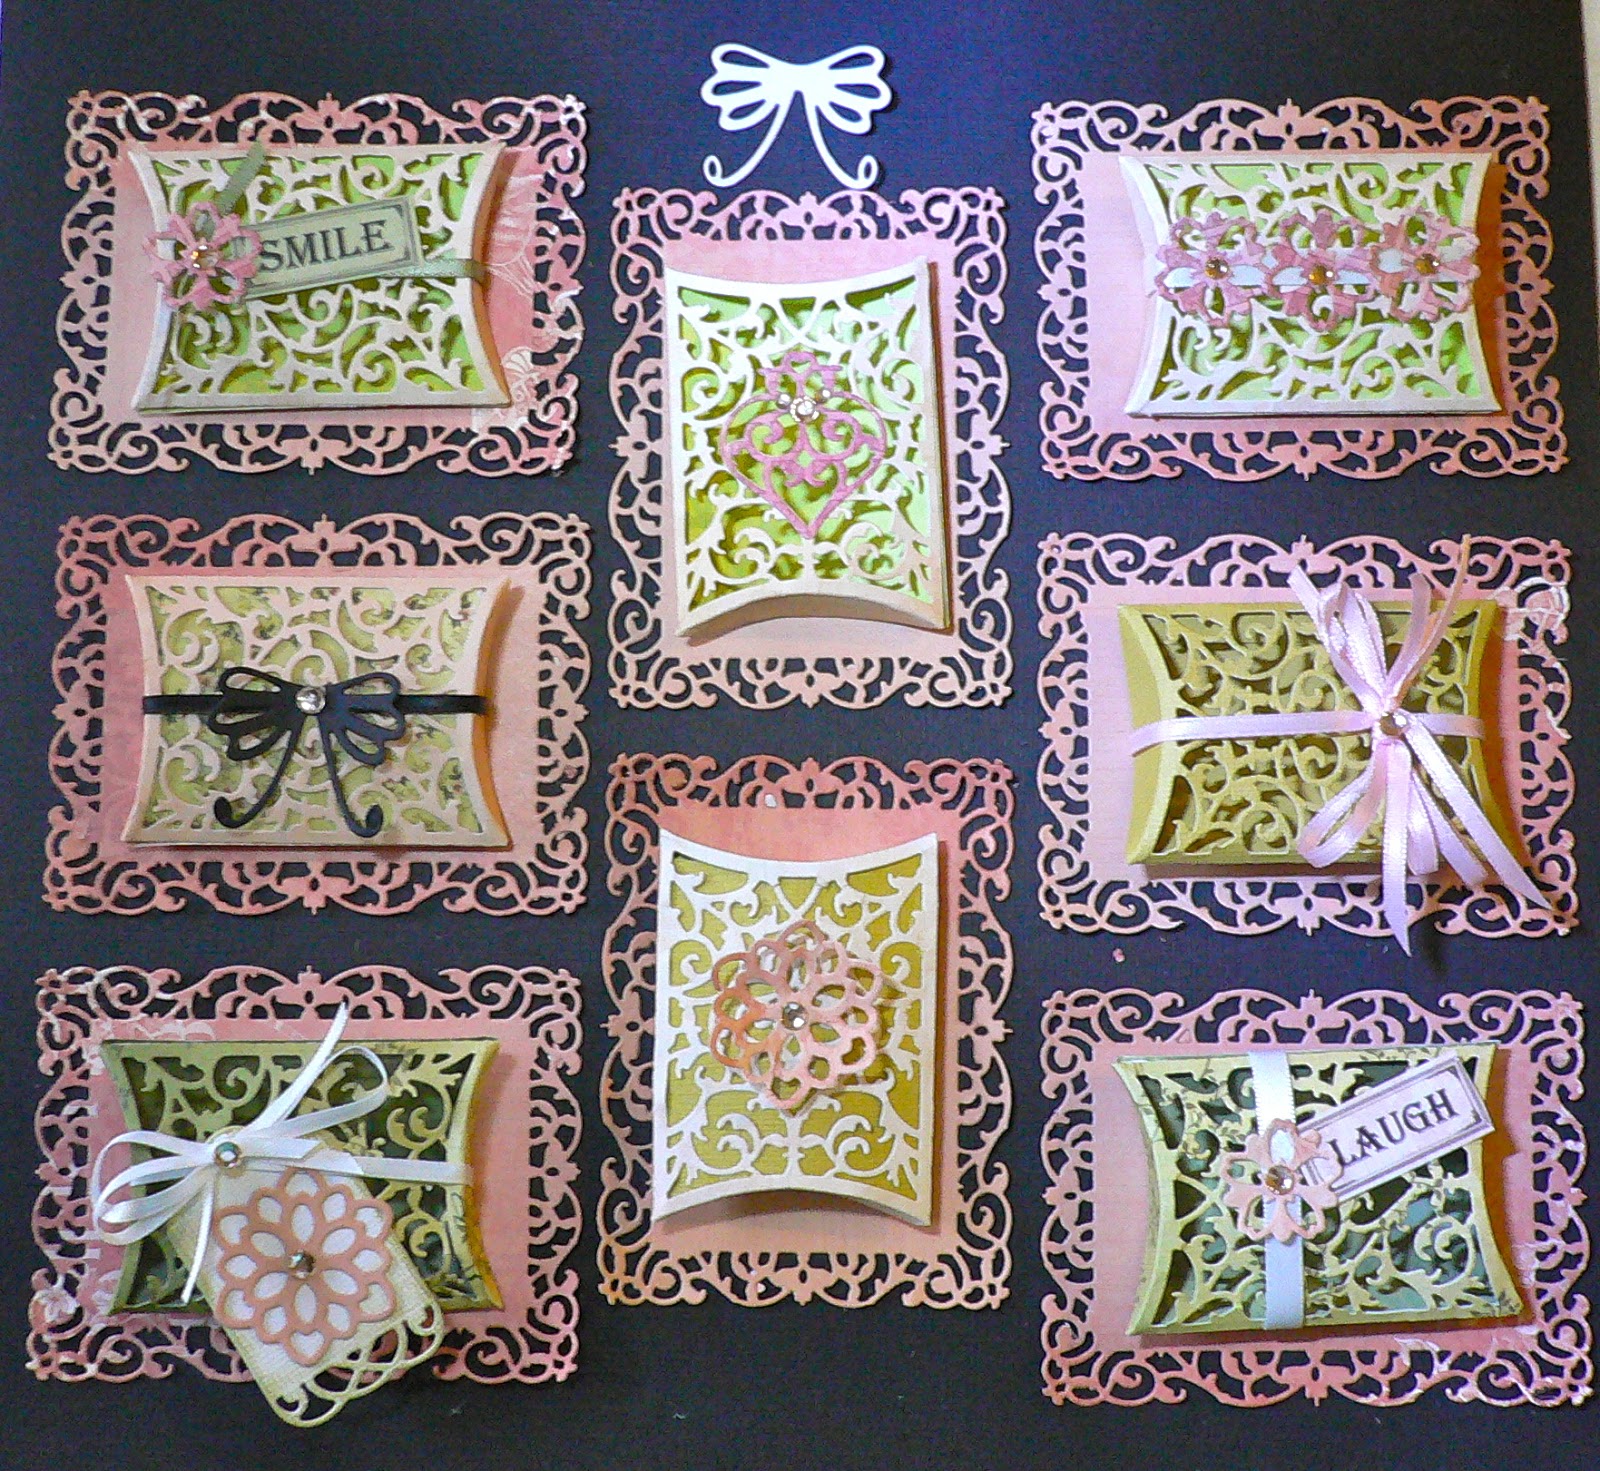
Here I created many variations of the pillow pocket die "The Dorsetshire" adding many little touches from the other die cuts all 
from the Lace Pockets Die Cuts, they are so cute :)


Now there are so many wonderful projects in the latest 
Creative Inspiration Magazine #11 from Couture Creations

Here is the link HERE
but you can grab your free copy from your local scrapbooking store. 


 Thanks for looking, Cheers Adriana XXX   :)


Couture Creations Materials
Lace Pockets Die Cuts
C0724232 - The Dorsetshire Die cut  
C0724234 -The Hanslope Die cut.  


Please make sure you add your email address to get the latest newsletters.

Don't forget to join 
Couture Creations FACEBOOK


for all the latest updates from Couture Creations.


Friday, October 2, 2015

Vintage Lace Pockets Cards - Couture Creations

Hi there everyone, today I am sharing my three Vintage inspired cards, that I have created using the wonderful new collection of dies from Couture Creations. 

Lace Pockets Die Cuts

and the

Secret Garden DIe
Chirp Chirp  C0724268

These are so easy to create, each die set in the collection come with little flowers or bows or pockets tags.

I have mixed the dies up a little, and cut out the details in some of the dies, just to show you how versatile these dies are. Once you see how I created these cards, I am sure that you will want the whole die collection,
There are 5 different sets to collect. Order them now from your local scrapbooking store, I think these are going to be quite popular.

So, lets begin with the paper, I chose a pink Damask page of the beautiful and wonderful 
Christmas Emporium Collection - Papers  and teamed it up with black , white and rose coloured card stock.


Here are my three cards


Please note the that Vintage images are from my private collection.
I purchased these when I went to Paris last year, but you can use any vintage images.

In this gorgeous set of Christmas papers there are 2 of each design. 
I totally love this vintage paper collection.
Some of the pages could be used not just for Christmas themed
projects. So, today I have created 3 Vintage Cards using the Pink Damask
paper from this collection.


Vintage Card no 1


I have used the
Lace Pockets Die Cuts in different ways, to show you all how versatile they are.


Here is the list of dies for this card, 


as you can see I cut 2 of the delicate design from The Dorsetshire Die cut pillow die, and placed the white flourish in the centre of each panel. Framed my image inside The Blandford die cut and decorated with the bow from The Chantilly die cut  The background is black square card stock.
Then I added a bit of sparkle with Vintage Gemstones around the lacework.


Vintage Card no 2


Here is the die cut list for this card


as you can see I cut 4 of the delicate flourish designs from The Dorsetshire Die cut with white card stock. I cut 2 Flowers from the Tied Together Saxony die and 2 flowers from the The Hanslope Die cut.  I framed my image inside The Blandford die cut and mounted this frame on a piece of rose card stock.
The background is black square card stock, covered with the
Damask pink paper from the Christmas Emporium Collection - Papers  
Then I cut Chirp Chirp die cut from the Secret Garden DIe and adhered it to the bottom on my vintage image with Couture Creations 3D dots.


Vintage Card no 3


Here is the die list for this card


as you can see I cut one of each of the above delicate flourish designs from Bow from - The Chantilly die  
Delicate panel & Flower from the Tied Together Saxony then cut in half.
Oval frame from theThe Hanslope Die cut.  
Frame from The Blandford die cut 
Then I added a bit of sparkle with Vintage Gemstones around the lacework.

Paper from the Damask pink paper Christmas Emporium Collection - Papers  


 Thanks for looking, Cheers Adriana XXX   :)


Couture Creations Materials
Lace Pockets Die Cuts
C0724232 - The Dorsetshire Die cut  
C0724234 -The Hanslope Die cut.  

C0724268 Secret Garden DIe Chirp Chirp  


Please make sure you add your email address to get the latest newsletters.

Don't forget to join 
Couture Creations FACEBOOK


for all the latest updates from Couture Creations.


Thursday, October 1, 2015

Kaisercraft October Sketch Challenge

Hi there everyone… It's time for this month's Kaisercraft Challenge, again.
 This month's sketch board that is inspired by the latest release paper collection, and also based on a layout created by Melissa Kennedy.

Please go to the Kaisercraft BLOG HERE
for all the details on how to enter and see the other Design Team layouts.

KAISERCRAFT OCTOBER 2015 CHALLENGE


We can’t wait to see what you come up with!
Here are the rules to join in on the fun..….

All you have to do is create a layout of your own using at least 80% of Kaisercraft papers and products. They can be of any Kaisercraft paper collection. You can enter as many times you like.


Good Luck everyone!!!
The deadline: Comments with linked entries for each monthly challenge will close on the last day of that month at 11.59 (Australian Eastern Standard Time UTC +10/Daylight Savings Time UTC +11)
The prizes:
1st PLACE: One of Kaisercraft’s New collections (Voted for the most creative)
2nd PLACE: Kaiser paper pack (Random draw winner - EVERY entry is eligible)

Winners will be announced at the beginning of NOVEMBER.

GO to Kaisercraft BLOG HERE for linking your layout…

Good Luck :)
Thanks for looking
Cheers Adriana XX