Showing posts with label design team. Show all posts

Sunday, July 19, 2020

Explore Layout - New Adventures collection


Hi everyone welcome back to my blog, thanks for stopping by.. 
Today, I am sharing a very quick and easy scrapbook layout using the
Wonderful new release " NEW ADVENTURES" collection from Couture Creations

This layout has a photo of my recent trip (last year 2019) to Florence Italy
The Ponte Vecchio is an old bridge linking the parts of the city over the river
I took this photo over the other side - I just love the reflection on the water with the old bridge and buildings in the distance. 

EXPLORE layout with Adriana Bolzon


Firstly I only used one sheet of the 12 different double sided papers
NEW ADVENTURES"  CO727765. Sheet#11.
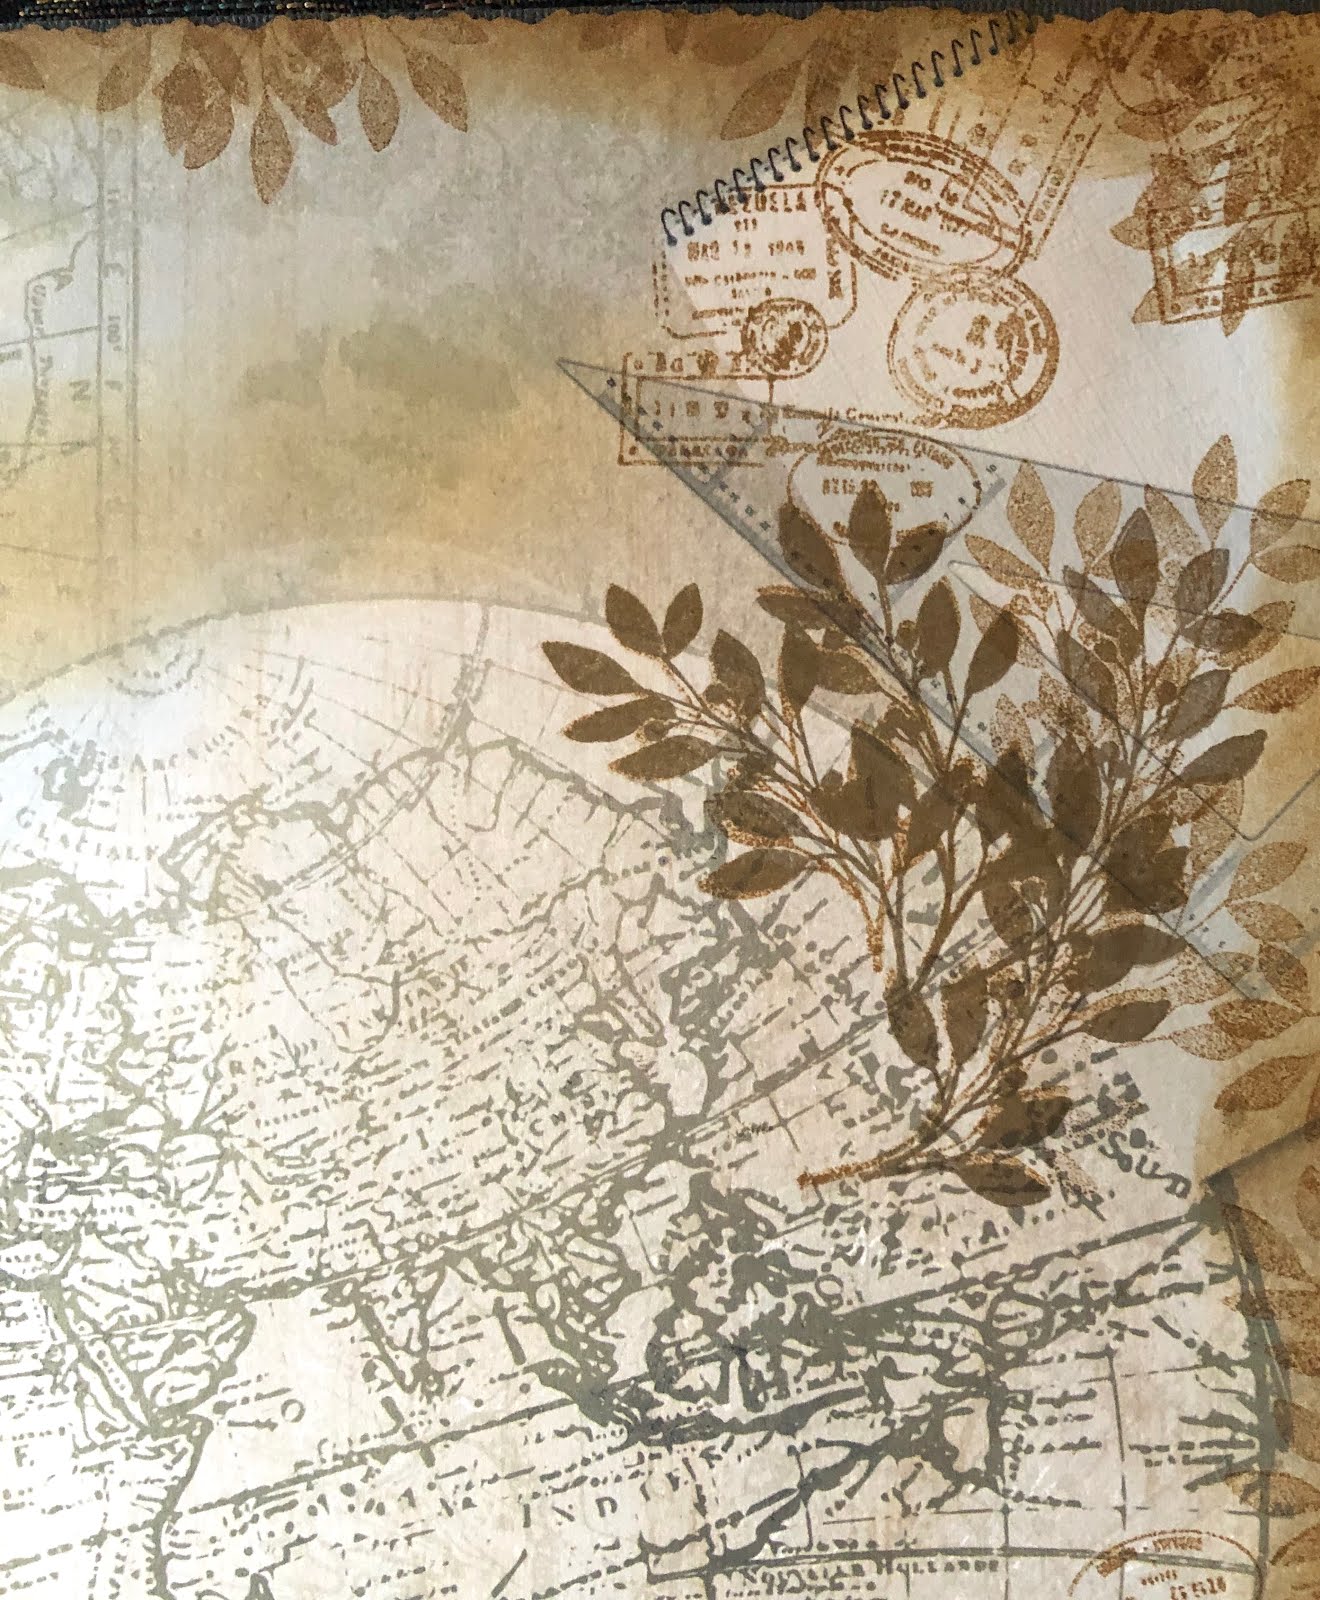
I randomly stamped over the page with the
NEW ADVENTURES" MINI STAMP SET CO727787 Olive Branch 
with Dark Brown ink pad


Then adding some NEW ADVENTURES" CO727786 Passport stamp mini stamp around the top and edges of the paper.


Using the NEW ADVENTURES" Olive Branch Cut & Create die CO727790
and
Card Deco Olive Green and Bronze Pigment ink pads
I dabbed over the cut and Create die and place a piece of paper on top of die,
using my Go Power and Emboss machine to cut out several beautiful inked leaves. 


I then foiled some CHIPBOARD with the GoPress and Foil machine and
CO727798 Sentiment chipboard "EXPLORE" and other chipboard from  my stash.


Once foiled , I layered my photograph and arranged clusters of flowers and die cut leaves around the my photo. 


Tucking a little ephmera postcard under the photograph. 
Here I have written the date when this photo was taken.


Foiling the swirling chipboard with the Chocolate Cooper Foil CO725691 


Just a very quick and easy layout
using the papers, stamps and Cut and Create dies together with a touch of foiling on the chipboards
( I do love ROSE GOLD FOIL !! )


Until next time
Take care and see you soon !! 


Couture Creations Products: 
NEW ADVENTURES COLLECTION
CO727765 New Adventures - 12 x 12 paper Sheet#11.
CO727786 New Adventures Passport mini stamp
CO727787 New Adventures Mini stamp set- Olive Branch 
CO727790 New Adventures - Olive Branch Cut & Create die 
CO727798 New Adventures - Sentiment chipboard "EXPLORE"

CO725691 Chocolate Cooper Heat activated Foil 
CO725694 Rose Gold Activated Foil 

CO726520 Go Power and Emboss machine
CO724824 Go Cut & emboss Machine 

Other: Flowers from my craft room 


Cheers Adriana xx


Friday, June 21, 2019

Moment in Time layout - Couture Creations

Hi everyone welcome back and thanks for stopping by, it's Adriana here today.

For today, I have created a layout using two papers and chipboards from the 
CO726775 Parquet Tiles die
 to create a stencil for the background of my layout and also incorporating two die cuts to my layout . These dies are fabulous for card backgrounds but also thinking outside the square - you can create wonderful backgrounds with the die cuts for other projects. 


Adding some touches of foiling on the special released chipboards from the Gentleman's Emporium collection (unfortunately these chipboards are only available in Australia) Foiling onto chipboard is so so easy with the Go Press and foil machine. So here is my step by step instructions and details are below: List of products are listed at the end of this post.

Moment in Time layout by Adriana Bolzon
The photo is of my Nephew when he was a toddler. He is a bit cute, I think so :)


1. Trim down 1.25 cm around only on two side of the paper CO726821, ink edges with blue ink, adhere onto the centre of Denim Card stock.

2. Cut one Gentleman Crafter Cut, Foil and Emboss background CO726775 Parquet Tiles die with white card stock, through die cutting machine, this will be acting like a stencil.

3. Using a sponge dauber ink randomly around the centre of the layout with blue and dark brown ink.


4. Stamp randomly with the Gentleman's Emporium Ornate Icon Mini stamp CO726840 with brown ink pad on layout. Stamp randomly with script word stamp, as well.


5. Mat photograph with grey card stock and brown card stock. Cut cards from the Gentleman Emporium paper CO726823. 


6. With a white ink pigment ink stamp the whole Gentleman Crafter Cut, Foil and Emboss background CO726775 Parquet Tiles die, place through die cutting machine with a piece of Endless Dusk card stock - repeat process again to achieve 2 parquet tiles die cuts, I love the effect that instead of foiling these dies, stamping can achieve a different and unique result as well.  


7. Adhere all die cuts and matted photograph and papers, on the layout as shown below.


8. Foil all chipboard pieces with the Go Press and Foil machine and Copper Heat Activated Foil CO725697 and Champagne Mirror foil CO725695, Placing a Metal Shim on the platform of the Go Press and Foil machine.


****
INSTRUCTIONS for foiling onto CHIPBOARD
 WITH GO PRESS AND FOIL - 
just a reminder for those who don't know how to.

Turn machine on
Open Lid
Place Metal Shim on platform of machine
Place cut foil colour side down (copper foil)
Place chipboards on top
Place a paper shim over the chipboard and foil for protection of the lid.
Close lid and let it heat for 30-40 seconds
Wind slowly the platform through and back in your die cutting machine.


****

9. Adhere all foiled elements as shown in photograph.
Decorate with leaves, flowers as shown in photograph.


Couture Creations List of Materials
Gentleman Crafter Cut, Foil and Emboss background  CO726775 Parquet Tiles 
GENTLEMAN"S EMPORIUM  12'x12' paper CO726821
GENTLEMAN"S EMPORIUM  12'x12' paper CO726823
Gentleman's Emporium  Ornate Icon mini stamp CO726840
Gentleman's Emporium Chipboards 
CO726870, CO726869, CO726865, Co726868
Go Press & Foil Machine CO725032
Metal shim plate CO725578
Copper Heat activated foil CO725697
Champagne Heat activated foil CO725695
Denim card stock ULT200008
Endless Dusk card stock ULT200009
Black foam dots CO726429

Other: Flowers, leaves.
***

Thanks for stopping by, 
be sure to ask for this collection from your local 
Papercraft store.....all available now

Cheers and big hugs
Adriana XX


Wednesday, June 1, 2016

Couture Creations Design Team for 2016 / 2017


Hi everyone, some exciting news to share with you all, I will be creating for Couture Creations, Ultimate Crafts for 2016/2017 !!!! Along with these other wonderful creatives.

Looking forwards to sharing my projects with their wonderful new releases. 


This year we have  a smaller core team but we have more Guest Designers giving you fabulous projects from our designers you love and variety with having a Guest Designer or two each month.


We welcome  our 2016/17 fabulous Design Team


 our 2016/2017 Design Team officially start their term July 1st, you will learn more about them all then in the meantime please visit their blogs to see what they have been creating.


Guest Designers

We are so excited to have these amazing ladies guesting for us this year, again please visit their blogs to see what beautiful projects they have been creating and don't forget to leave them all some love. 


Please make sure you add your email address to get the latest newsletters.

Don't forget to join 
Couture Creations FACEBOOK


We look forward to inviting other Guest Designers throughout the year,  so please if you create something with our products please make sure you share with us on Facebook or tag us on Instagram
#couturecreationsaus #ulitmatecrafts #artdecocreations
 You too could be a Couture Creations | Ultimate Crafts Guest Designer 


Thursday, August 20, 2015

Just for Him - Kaisercraft projects

Hi there everyone !!! Just popped in to share my post
today, I am sharing a few tips and ideas for creating some cards and gift wrapping solutions for that unique, wonderful super male in your family. 
Whether your favourite male is your husband, boyfriend, father, uncle, grandfather or brother, I hope my creations will set you in the mood of creating some wonderful projects for them to treasure. Kaisercraft's latest release paper collection "Time Machine" really helps with creating some unique cards and projects for your special male, in your life.
Time Machine_Logo
"Time Machine" papers have images of clocks, gears and machinery together with the rustic feel, textures and tones, I had so much fun creating these projects for you. These papers will appeal to every types of Guy - In Australia, we celebrate Father’s Day here on the first Sunday in September. I have created some ideas for Father’s Day but you could easily adapt them for “Happy Birthday” themes, as well.
August Collections2
Here are some of my projects that I have created using the “Time Machine” papers, CT836 Collectables, SS292 sticker sheet and PP978 paper pad, PT221 Washi printed tape,PS426 Hour Specialty paper.


Firstly some cards :
Using the Time Machine papers, Paper pad, collectables and printed washi tapes, I have created some special cards for Father’s Day.


"#1 DAD" card by Adriana Bolzon
Time machine- card-adriana bolzon


Adriana Bolzon-card-time machine
Kaisercraft materials : PP978 Paper Pad, SS292 Sticker sheet, CT836 Collectables.


"Happy Father's Day" card 
Here, I added some of the PT221 Printed Washi Tape Clocks new release tape from Kaisercraft, to create a border…. I think it's a really cool effect!!!! then I layered many of the collectables clock and gears pieces with foam tape.


Time Machine-card- adriana bolzon
Kaisercraft materials : PP978 Paper Pad, SS292 Sticker sheet, CT836 Collectables, PT221 Printed tape clocks tape.


Gift wrapping is now so easy….. I decorated a simple black gift bag and added the special papers, collectables and stickers, to match my card. This gift bag could be re-cycled time and time again.
Adriana Bolzon-time machine - project
Kaisercraft materials : PP978 Paper Pad, SS292 Sticker sheet, CT836 Collectables.


Time Machine-project-adriana bolzon


Create your own gift Tie bag and tie card….using a Kaisercraft 12” x 12” paper you can create a unique gift bag ideal for a small gift such as a for a pair of socks, gift voucher or aftershave.


Time Machine - projects- Adriana Bolzon


Time Machine-tie gift bag-Adriana bolzon


Here is a Step by step to create your own gift - wrapping tie bag (ideal for small gifts) using
 Time Machine 12' x 12' Kaisercraft paper P1918 Steam Engine…..but you can use any Kaisercraft paper.
kc step 1 and 2


kc step 3 and 4


KC step 5 and 7


kC step 8 & 9


Now, here is a card that I have also created also with the tie and shirt effect.
I added a little bit of folded paper and with a black pen added some fake stitching.

"DAD tie shirt' card 
DAD tie card-adriana bolzon-time machine
Kaisercraft materials : PP978 Paper Pad, SS292 Sticker sheet, kraft cardstock.


Here are some other ideas that you can create:


Swing Tag – ideal gift idea tag for decorating a bottle of wine, using the PP978Paper Pad and CT836 collectables.
Time Machine- projects- adriana bolzon


Time Machine-tag-adriana bolzon


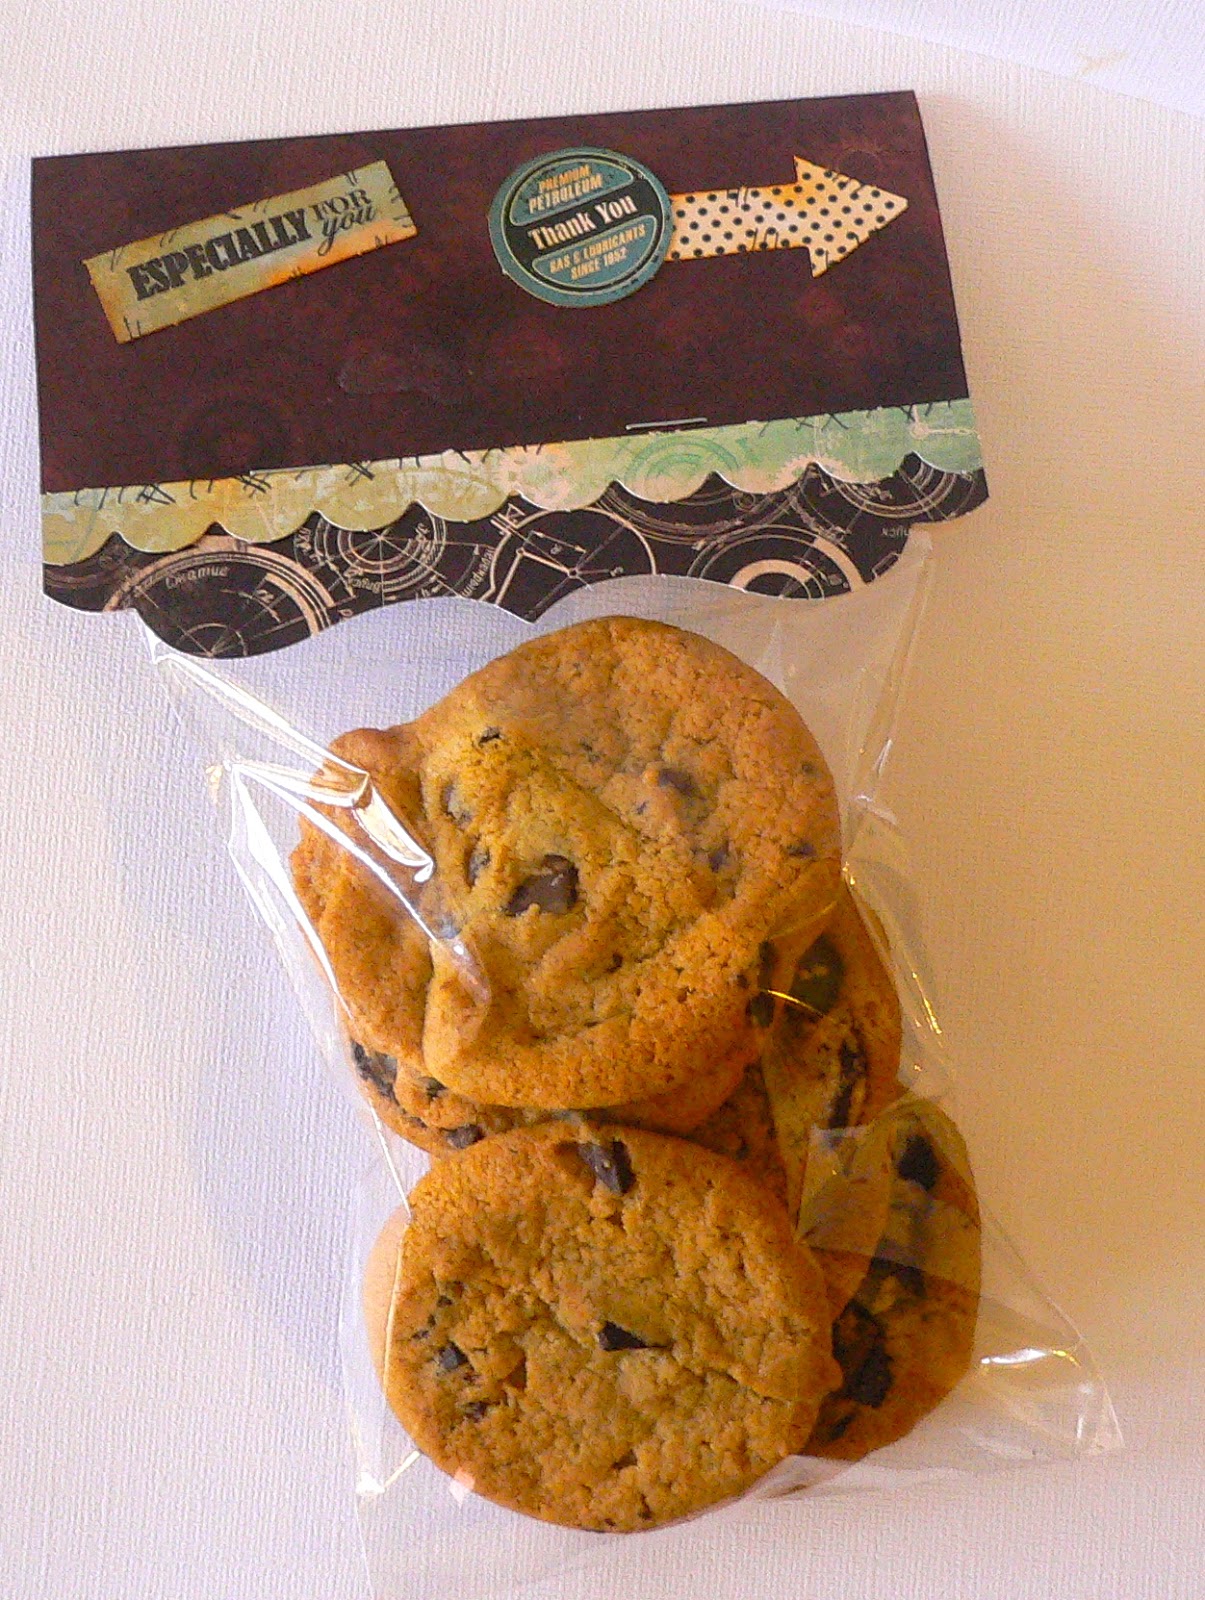
Bake his favourite cookies or snacks and wrap them up with some of the "Time Machine" papers.


Yummy !!!!!

Make a card that includes a folded section to place a special gift card.
"Special DAD" card with gift card holder by Adriana Bolzon
Card- adriana bolzon-time machine
inside create a little side pocket to hold a special gift card or voucher


P1080902


P1080908
Kaisercraft materials : PP978 Paper Pad, SS292 Sticker sheet, P1924 gadget, P1919 Mechanism, CT836 Collectables.


After creating your card/s, don't forget to decorate the outside of your envelope, it couldn't be easier with the Clear stamps. I have used here the CS236 Clear stamp set from the “Time Machine’ collection to decorate the envelope.


P1090007


and my last idea for creating for your special one
Create a layout to be placed in frame for his special office or study, 
This fits nicely in this frame.

Time Machine-framed layout-adriana bolzon


P1090003
Kaisercraft materials : PP978 Paper Pad, SS292 Sticker sheet, CT836 Collectables, PS426 Hour Specialty papers, CS236 Clear stamp.


As I mentioned before, all these ideas can be changed for Happy Birthday’s themes as well, so I hope you enjoyed viewing my creations and ideas for creating something special for your loved one and Celebrate the Super Men in your Life.


Happy Kaiser crafting everyone!!!!! Cheers Adriana XX